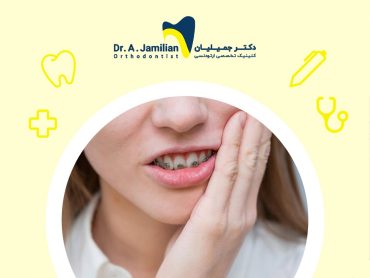
Proper orthodontics can bring anyone a beautiful and powerful smile. If this is your first time undergoing orthodontic treatments, its beneficial for you to get familiar with the steps to installing an orthodontic appliance. Most patients have a fear of orthodontic procedures. Herein, I will try to explain the full procedure and steps to install an orthodontic appliance. Note that I explain a general outline of an orthodontic procedure. You can consult your orthodontist to acquire more detailed information. The first step towards a successful orthodontic treatment is to find the best orthodontist who can help you to have a treatment course with the fewest problems. Follow us to get familiar with the steps of making a beautiful smile.
The steps of orthodontics until the teeth are regular with a beautiful smile
An experienced orthodontist should carefully perform all orthodontic installation steps. The orthodontic installation steps are as follows below:
1. Consultation
When visiting the best nearby orthodontist, he/she will perform primary physical examinations and propose the best treatment plan based on your conditions. For example, the orthodontist may examine and diagnose problems such as hyperdontia, number of teeth, and other dental problems. In certain scenarios, you may get asked by the orthodontist to be aware of any possible problems.
2. X-ray
In this step, the orthodontist will take X-ray or panoramic images of your oral cavity to determine the precise position of all teeth and jaws. These images also help the orthodontist to detect tooth decay or dental damage. Generally, tooth pulp conditions may be different from the tooth crown.
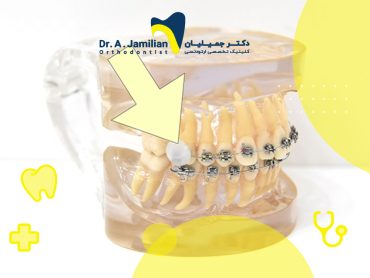
3. Tooth extraction
Tooth extraction is among the common steps of orthodontics. After evaluating the X-ray images, the orthodontist may decide to extract one or more teeth to provide enough space for other teeth. In most cases, one of the anterior molars or extra teeth appearing on the upper or lower surface of other teeth is extracted for this purpose.
4. Providing enough distance
A professional and high-level orthodontist will use a variety of tools to measure the distance between teeth. Orthodontic brackets provide enough space to properly fit in the desired position. In the case of a very short distance between teeth, the orthodontist will use special instruments called spacers to provide enough space for brackets. In some cases, the orthodontist may prescribe the patient to use this instrument for a few days or a few weeks.
5. Moulding
After extracting all extra teeth and providing enough space for brackets, the orthodontist will mould your teeth in half an hour.
This mould helps the orthodontist to simulate all aspects of the treatment and plan the final procedure of installation. For example, an experienced orthodontist uses the dental mould to determine the type of appliances and the length of required archwires.
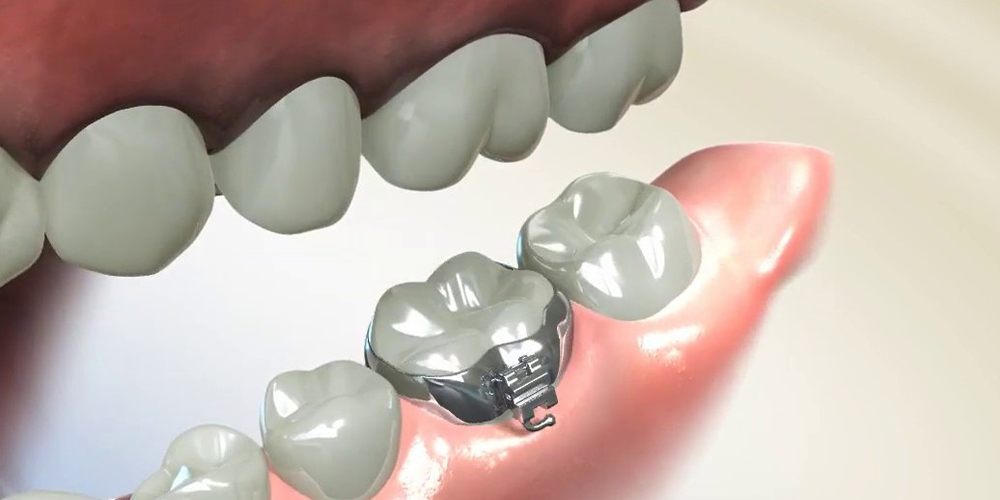
6. Banding
A skilled orthodontist can easily do this relatively simple procedure. Metal bands are wrapped around the molars in this step to act as an anchor for other appliances installed inside the mouth. Traditionally, orthodontists wrap all teeth with these metal bands. However, the new banding methods allow orthodontists only to wrap them back around the back teeth.
7. Connecting the metal bands
The orthodontist makes use of a special tool to examine the oral cavity before connecting the bands. Teeth are then cleaned with tasteless toothpaste, washed, and dried.
The bands are now ready to be placed behind the teeth. Extra materials should be removed from teeth after placing all bands in their right position. The blue light is radiated to teeth by a skilled and experienced orthodontist to ensure the correct connection and placement of bands.
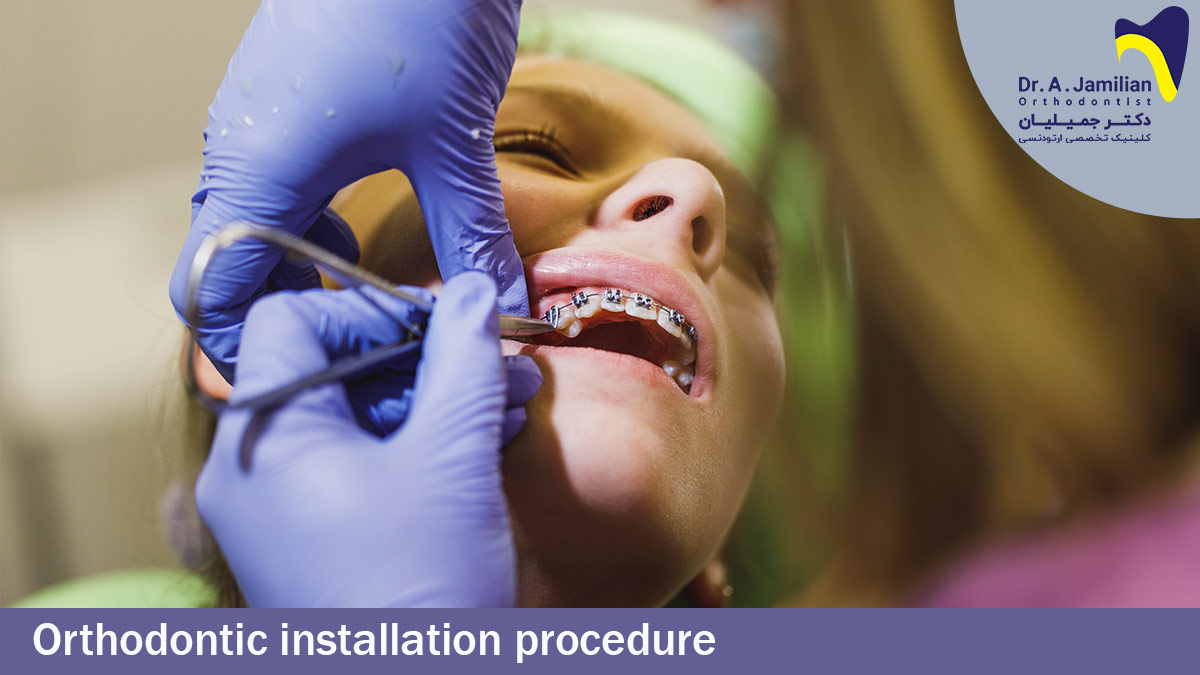
8. Installation of archwires
In this step, the orthodontist carefully connects archwires to brackets using special plastic materials. The orthodontist can use plastic materials of different colors based on the patient’s desire.
9. Corrections
The orthodontist should carefully check the connections in this step. Orthodontic elastics apply force to teeth and push them towards their normal position. These orthodontic elastics are usually replaced with new ones in each checkup session until the end of the treatment. The connections may loosen or lose their elasticity during the treatment period. Therefore, you should regularly visit your orthodontist to check the appliance and solve any possible problem.
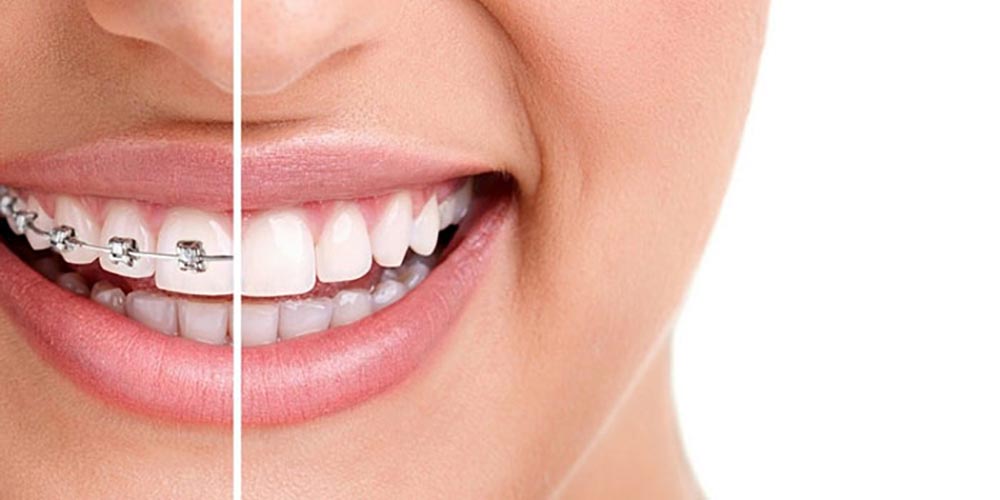
10. Orthodontic finishing
The orthodontic brackets and archwires will be removed from your mouth whenever the orthodontist is satisfied with the teeth’ conditions and position. This 10-step process for installing orthodontic appliances may last 12 to 18 months.